Splitting Widget
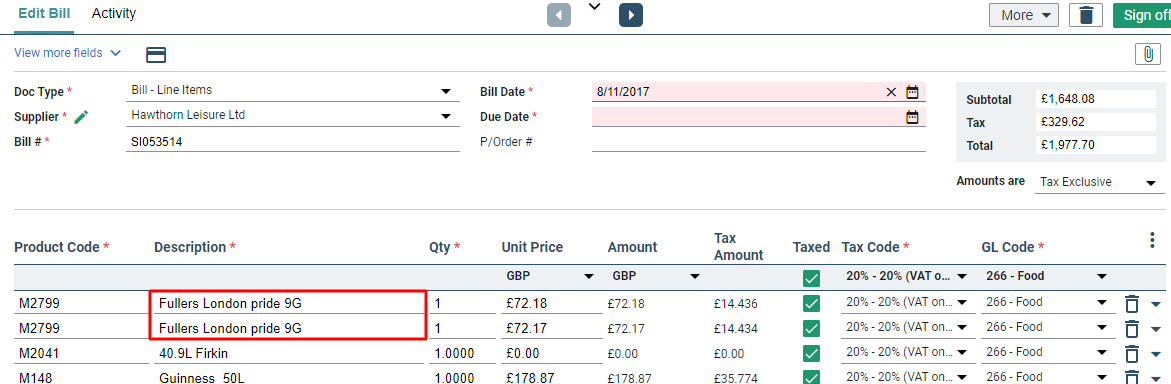
Splitting lines/bills across multiple GL Codes/Categories can be a breeze with Lightyear's splitting widget. Instead of having to add a new line/s, manually calculate the split or the right amounts and then enter the details, Lightyear lets you split at a single line item level OR at a bill level within the Bills Approval Workflow. In the scenario where we have extracted one line item, per what’s on the invoice - you may need to split this out into 3 separate lines, to be allocated to different GL codes.

Warning: Splitting should only be used on Service Lines or Line Items with a quantity of 1, as the split happens on the Unit Price.
Line by Line
Once you have found the line you want to split, click the arrow on the right hand side > Split Line Item Amount.
By Document
At the bottom of Panel 2, you will see a button to Split, click this to display the Splitting Widget.
Splitting Widget Modal
The popup widget will allow you to apply the split. In the top left there is a field to enter the number of lines you want to split into. If you want 3 lines, enter 3, if you want 10 lines, enter 10, and so on.
In this example, I have split the line into 2. Below is an explanation of each column.
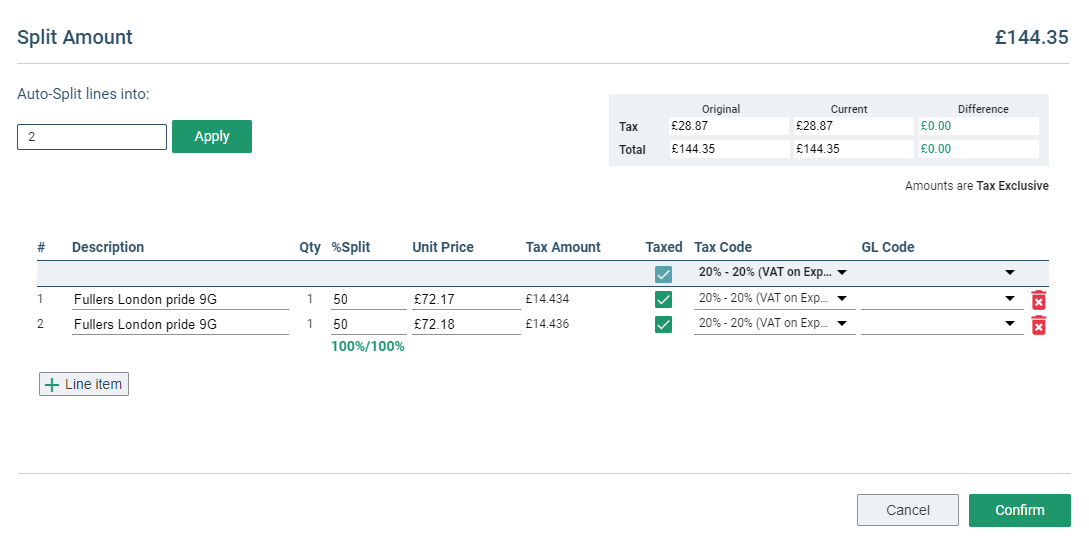
Description: The original description line will be entered across all split lines. This can be manually edited if needed.
Qty: This will always remain at 1.
Split: The % each line is split, e.g. if you split a line into 4, each line will default as 25%. This can be manually adjusted if needed to show a different % split, e.g. one line can be 40% with the other lines at 20% each.
Unit Price: Will update accordingly per the % split, e.g. on a $100 line split into 4, it will default to $25 per line. Similar to the Split column, this can be manually edited to show a different split. E.g. if one line needs to be $40, and the other $20 each, this can be changed here.
Tax Amount: Automatically calculated based on the Tax Code chosen and the Unit Price of the line.
Taxed: Check box for a Yes or No.
Tax Code: The Tax Code will default based on what is selected as a default on the Supplier or at a Company Level.
GL Code: The GL Code will default based on the default set on the Supplier or at a Company Level.
Once you have got the desired split, click Confirm and the lines will split within Panel 2.
Rounding Issues
There may be some scenarios where the split doesn’t exactly work out equally, e.g. if splitting into 3 lines.
In this case, you will see a rounding error bell beside the Tax, Total or both in the top right corner.
Click the error bell to automatically add a rounding row to balance the total correctly. Once the Original and Current columns match, you will be able to confirm and add the lines.
Check out our
to stay up to date
Related Articles
Approvals Tab
Watch this video on the Approvals tab: The Approvals Tab is where the approvals process starts. Lightyear has a 3 panel layout, and we will always refer to them as panel 1, 2 and 3 as below. Panel 1 shows a list of the bills that are waiting to be ...Processing Tab
It may sound scary, but it’s not. Watch this video on Processing Bills. The first time a Supplier sends a bill to your Lightyear account, it will appear in the Processing tab. As will scanned documents and statements. The Processing tab can seem ...Paperclip
Occasionally you may receive documents from suppliers that you want to store in Lightyear, but as they aren't a bill or a statement, you can't map and file them away as you normally would. Perhaps a delivery note or an order confirmation, as an ...Step 3: Send a document into Lightyear
Here, we'll take you through how to get your first documents into Lightyear and what to do with them. Get your first bill in from Lightyear on Vimeo. Sending Documents into Lightyear Before Lightyear can extract data from your documents, you'll first ...Step 2: Set your default tax rates
Set Default Tax Rates Now you've connected your accounting software, here's a quick but significant step - make sure you don't skip this one! Your preferred settings here will save you a lot of time later from coding each line item individually on ...