SENPOS
For over 30 years, SENPOS has been pioneering Point of Sale technology to maximise operational efficiencies, business profitability and customer engagement across the hospitality industry.
Setup in Lightyear
First, you need to switch on the Inventory export feature, to learn how to do so, click here. Once activated, head to Settings > Inventory Settings and select SENPOS from the software dropdown.
You'll need to start importing your suppliers from SENPOS, but first let's talk units...
Set your 'Default Product Units'
If the majority of your suppliers invoice in cases/cartons, then choose this option. Otherwise select Units (which will always default your items to a Product Unit of 1).
By design, this can be changed at any time as different suppliers invoice stock in different ways. Let's define a case, and a unit:
Unit – Item that is sold as that item whole (e.g. 1 Duff beer bottle = 1 Unit)
Case – Item that is made up of multiple units (e.g. A case of 24 Duff beers = Case of 24)
Case – Item that is made up of multiple units (e.g. A case of 24 Duff beers = Case of 24)
If in doubt, recommend setting to 'units' to start, you can always change this as needed.
Mandatory Export Fields
By default, Lightyear will prevent you from exporting if your bills are missing a Case Qty or Unit Type, but this can be changed!
In Inventory Settings, click into the Inventory/POS Settings option.
Here you can mix and match the Mandatory Export Fields between these options:
- Case Qty
- Unit Type
- POS Code
Click confirm.
Any bills added to inventory from this point will check that the mandatory fields are met.
These will be flagged in Panel 1 with a warning icon  . Panel 2 will highlight the fields with mandatory data missing, and users won't be able to export without adding in the missing information.
Once you have made the necessary adjustments, click Save and you will then be able to export.
Import your SENPOS Supplier List
This is a mandatory step because it makes your import routine easier, SENPOS will match supplier name. SENPOS have developed the ability to export your supplier list into a simple CSV file.
Navigate to Settings > Inventory Settings > Supplier Cards > Edit
On the top right, click the 'Upload CSV File' button.
Locate the CSV file you exported from SENPOS, select this and click 'Open' in the dialog box.
Lightyear will ask you 'Does the uploaded file contain a header row?' If your CSV file has a header (normally containing a label) in row 1 then click Yes. If the CSV file does not, then click No.
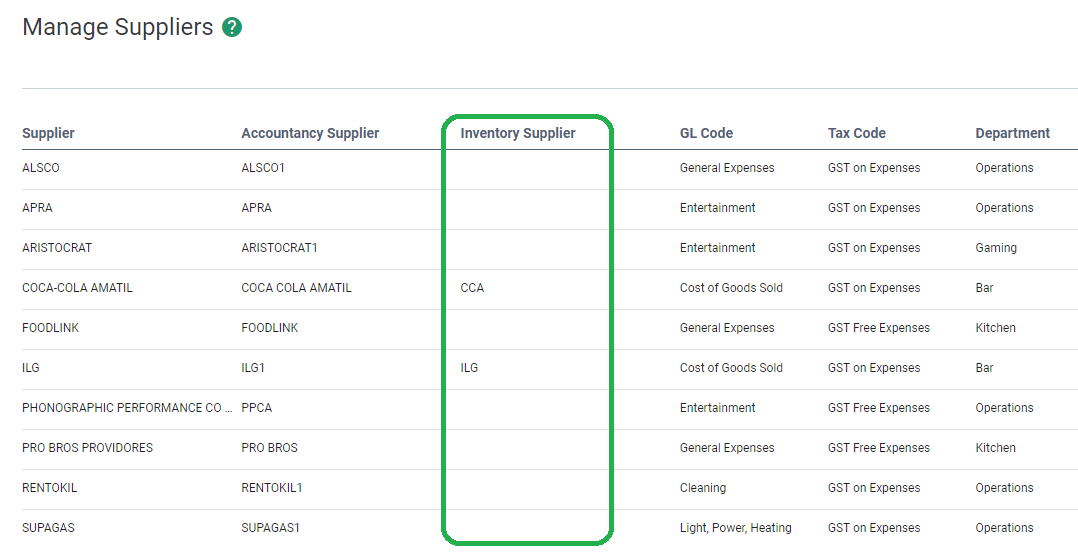
Your SENPOS Suppliers should now be loaded into Lightyear, now to associate your Lightyear Supplier, with your Inventory (SENPOS) Supplier, similar to how you matched your Accounting Supplier...

Note: Ensure your Inventory Supplier Names match exactly with the SenPOS Supplier names
Associate your SENPOS Suppliers with your Lightyear Suppliers
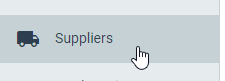
On the left hand ribbon, click Suppliers:
Select the supplier you would like to associate with Inventory and click the edit icon  on the far right.
Assign an ‘Inventory Supplier’ from the relevant dropdown list (this dropdown displays the list you uploaded from SENPOS).
You are now ready to export purchases to SENPOS via the Inventory Tab. Yay!