Purchase Order Importing and Mapping
How Maps Are Created
Maps for Purchase Orders are slightly different than maps for Invoices. For an Invoice, we create a map per supplier, extracting the relevant information you need based on the map type.
For Purchase Orders, there will be one map type, which can apply to all POs, regardless of supplier. These maps will be created based on the system used to create the PO. This is because all Xero POs, for example, will be created using the same format, following the same layout.
How to Upload Purchase Orders
You can upload a Purchase Order through 2 methods: directly in the Processing tab, or via email. Watch this video or read on to take you through the process:
In Processing, click the Upload button. This will display a modal allowing you to Browse Files to upload the Purchase Orders. When the files have been selected, under the Document Type column, make sure you have selected Purchase Order. Then click Upload.
If you want to go down the route of sending in the Purchase Order via email, it will need to be sent to your Lightyear account email, followed by a ‘+po’. For example, if your Lightyear email is ‘mycompany@lightyear.cloud’, sending a PO will need to go to ‘mycompany+po@lightyear.cloud’.
Searching For and Requesting Purchase Order Maps
You will only be able to search for a PO map if you have a PO in your Processing tab.
Go to your PO and click Find Map:
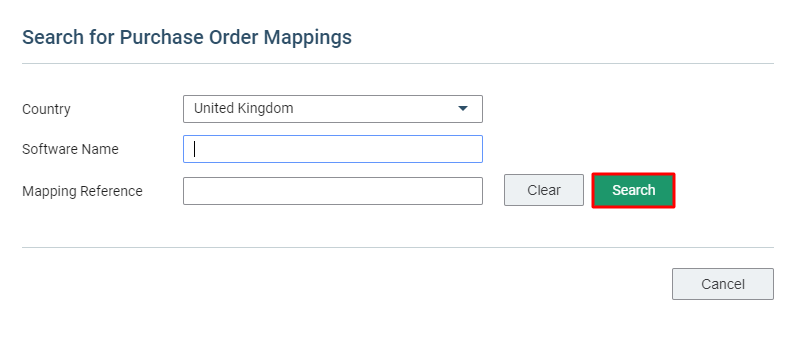
You will be prompted to enter the Software used to create the PO, or you can enter the Mapping Reference (if you know it). Once you have entered the necessary details, click Search.
A list of all possible maps will be displayed for you to choose from. Usually the map with the most uses is a good indicator of which one will work best for you!
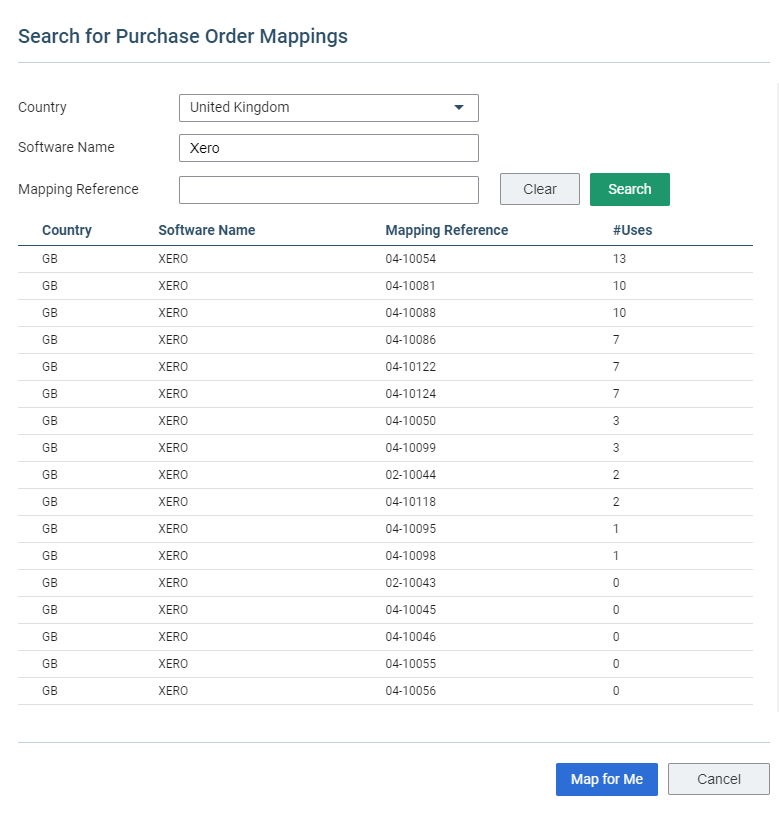
Select the map you want to use, and we will automatically extract the information from the PO into your Panel 2. If everything looks correct you can select the Supplier and click ‘Send to PO’ at the bottom of your screen.
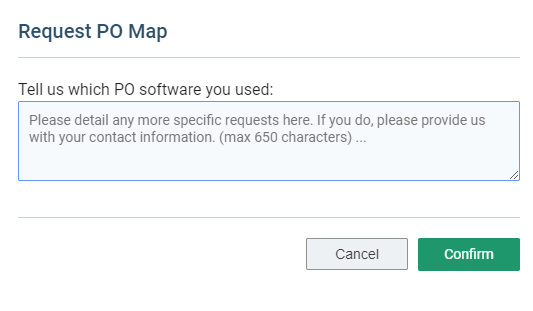
If none of the maps are working, or we haven’t yet made a map for your software, simply click the Map for Me button. Giving us any information you have about the software will be helpful for us when creating the map. Click Confirm once you’ve entered any necessary details.
What Does My Data Look Like When Mapped?
In Processing, your extracted PO data will look similar to the below:
Unlike Invoice mapping, you won’t need to request separate map types depending on if you have Product Codes/Quantities, or not. We will extract the line item information for all lines in the one map.
Where Will My Purchase Order Go After Being Mapped?
In Processing, after clicking the Send to PO button, you can choose which tab the PO goes to.
This can be set in Company Settings, under Purchase Orders > PO Extraction
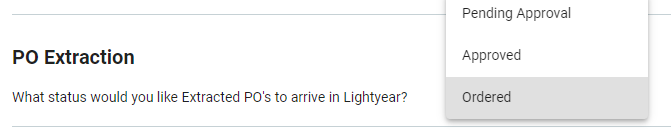
You can choose between, Pending Approval (Approval tab), Approved or Ordered.
This will appear as normal in your Purchase Order Workflow, with the only difference being the name in ‘Created By’ will say Imported.
Check out our
to stay up to date
Related Articles
Auto-Order Purchase Orders
If you're familiar with our Auto-Approve feature, you can use the same functionality to automatically Order your Purchase Orders within Lightyear. When enabled, this will move your POs into the Ordered tab and automatically email the relevant ...PO - Archive
With PO you can search in your archive for specific PO's. Much like when search invoices, the settings, filters and exports are also available with you purchase order records. PO Archive From any screen on Lightyear, go to the 'Archive and Reporting' ...Creating Purchase Orders
So you're ready to create your first Purchase Order. Check out this video on Creating POs or read on below to guide you through the process. To Create a PO, click the " Create PO" button to the top right of your PO screen. You will then see the ...Create PO and GRN via CSV
If you create Purchase Orders and Good Received Notes outside of Lightyear via a CSV, you can import these directly to Lightyear in bulk action. If you use any of our other CSV import routines e.g. Bulk Supplier Upload, Product Lists, etc., this will ...Introducing Lightyear Purchase Orders
Welcome to Purchase Orders With Lightyears Purchase Orders Feature, you can create, send, receive and complete POs in a few quick and easy clicks. The following tutorial will take you through the different main sections of the PO feature with links ...